Computer Generated Holograms (CGHs)
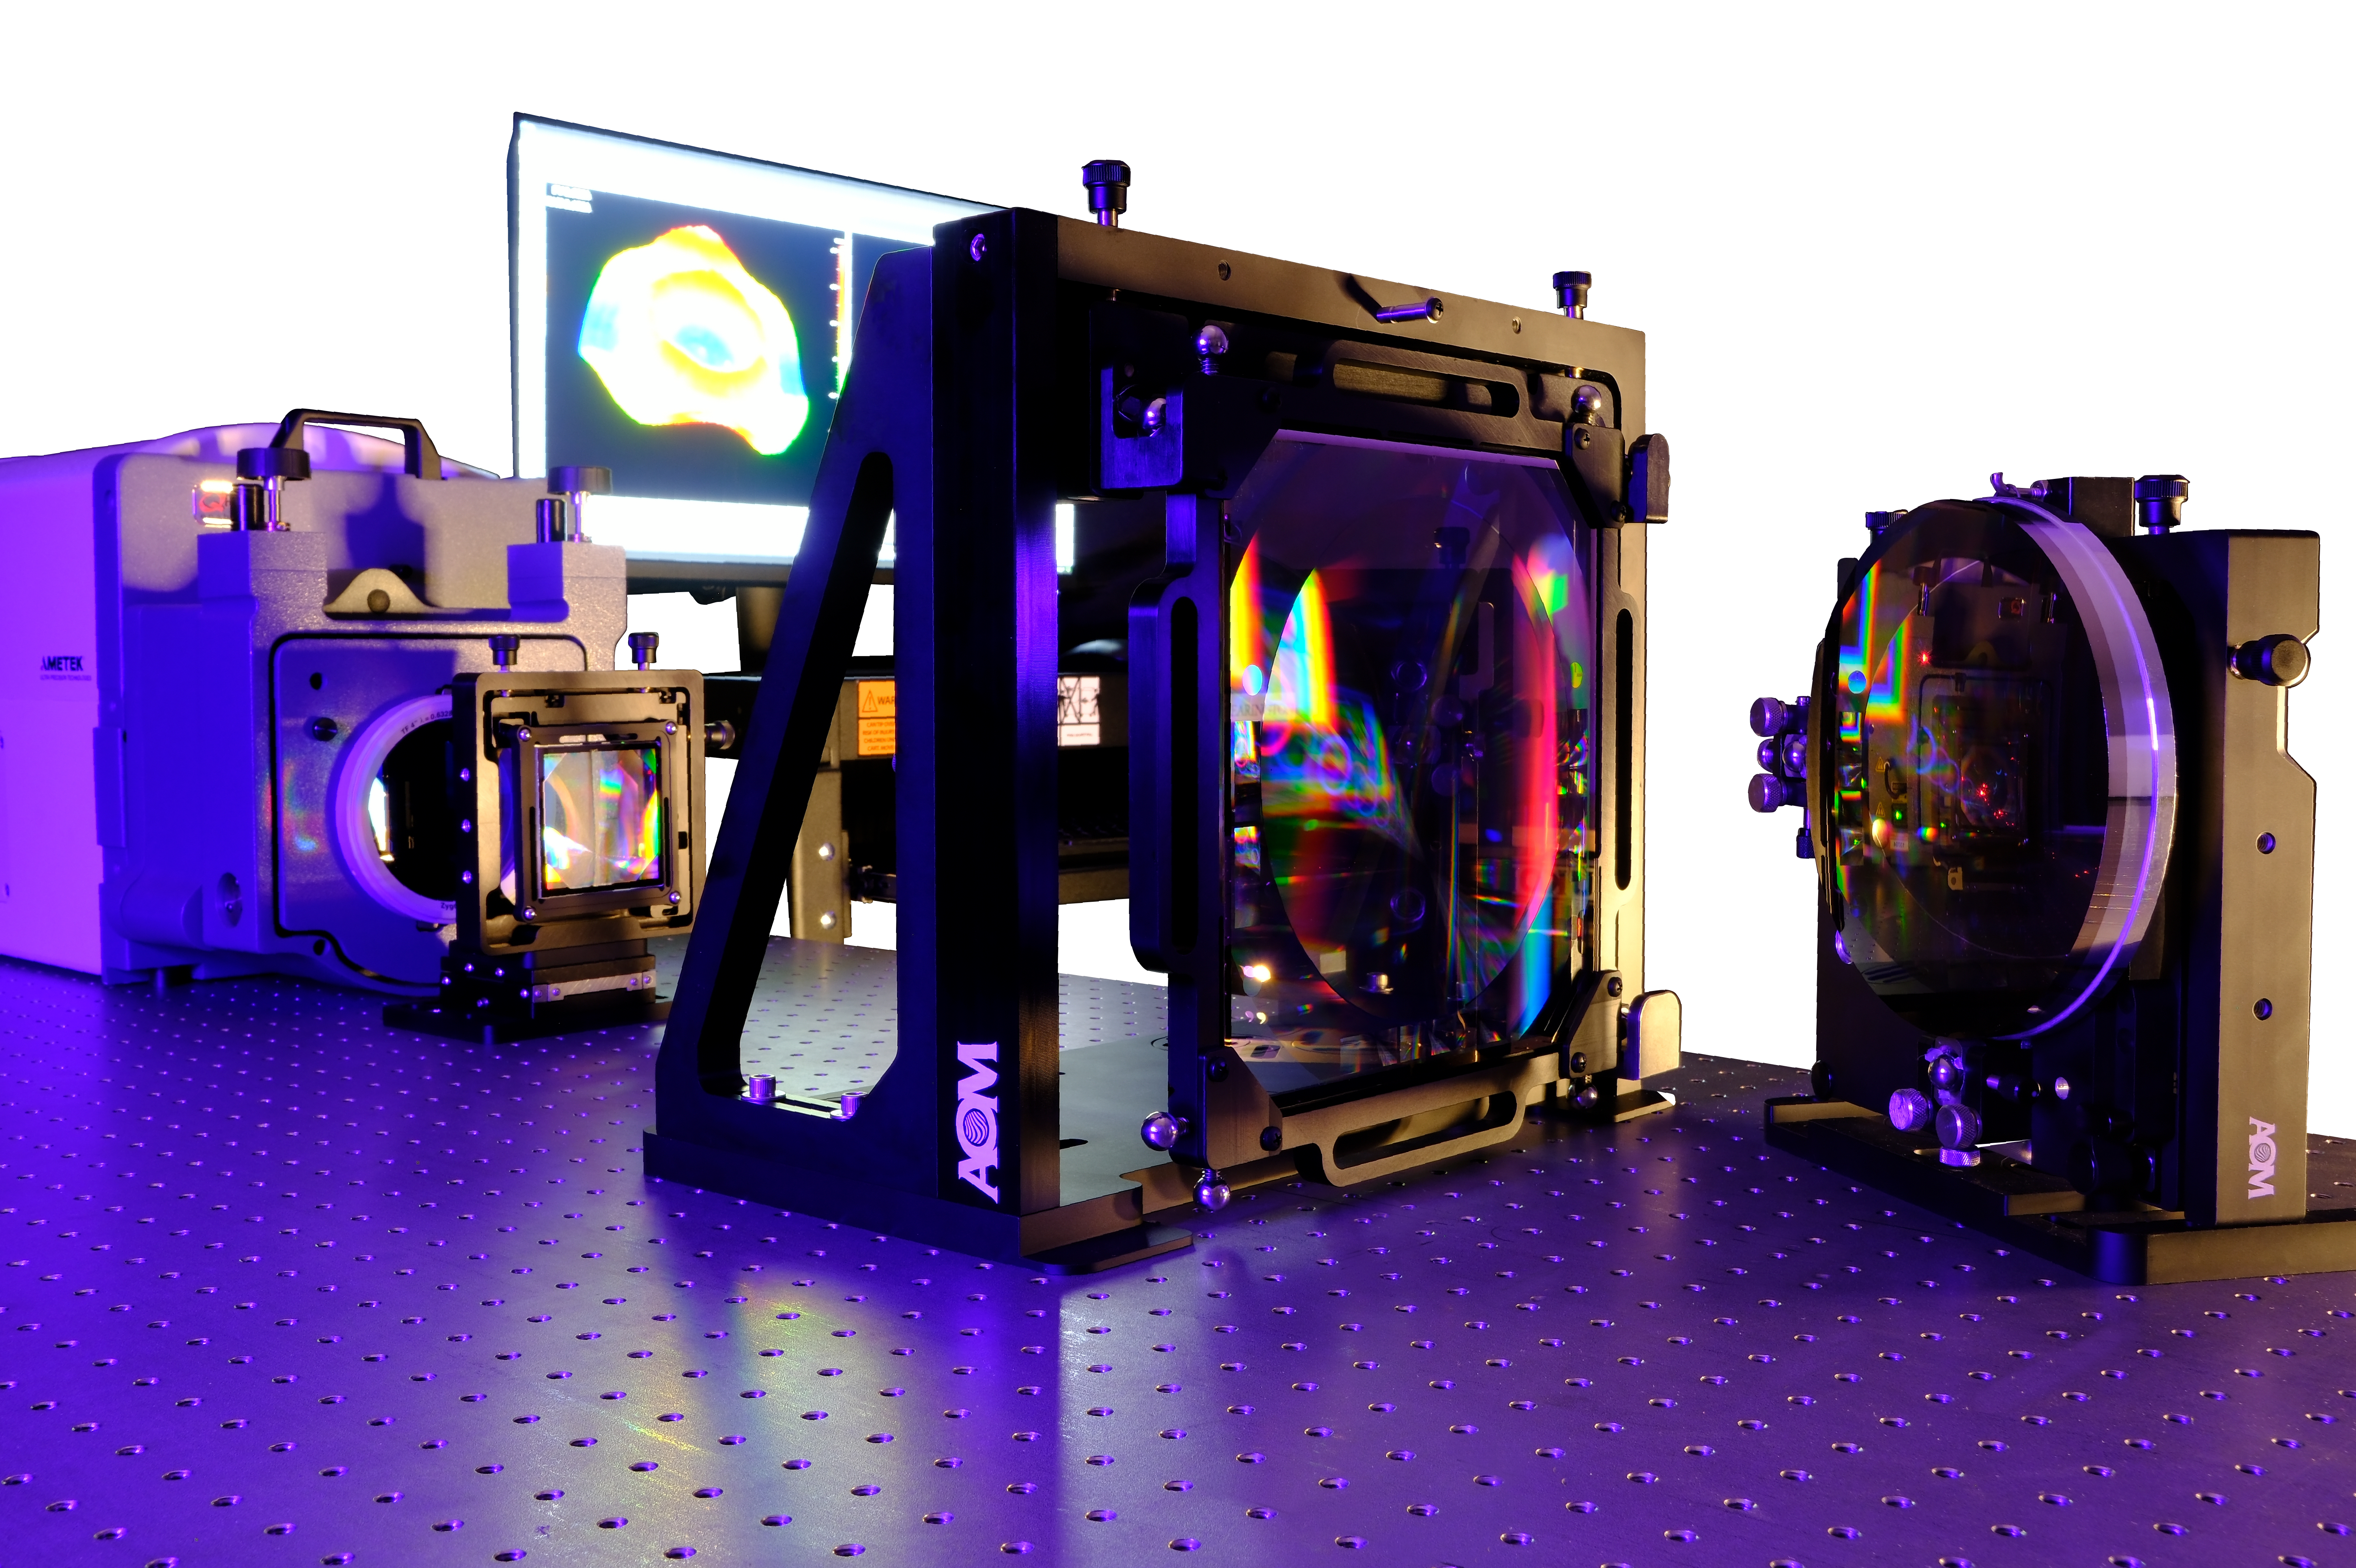
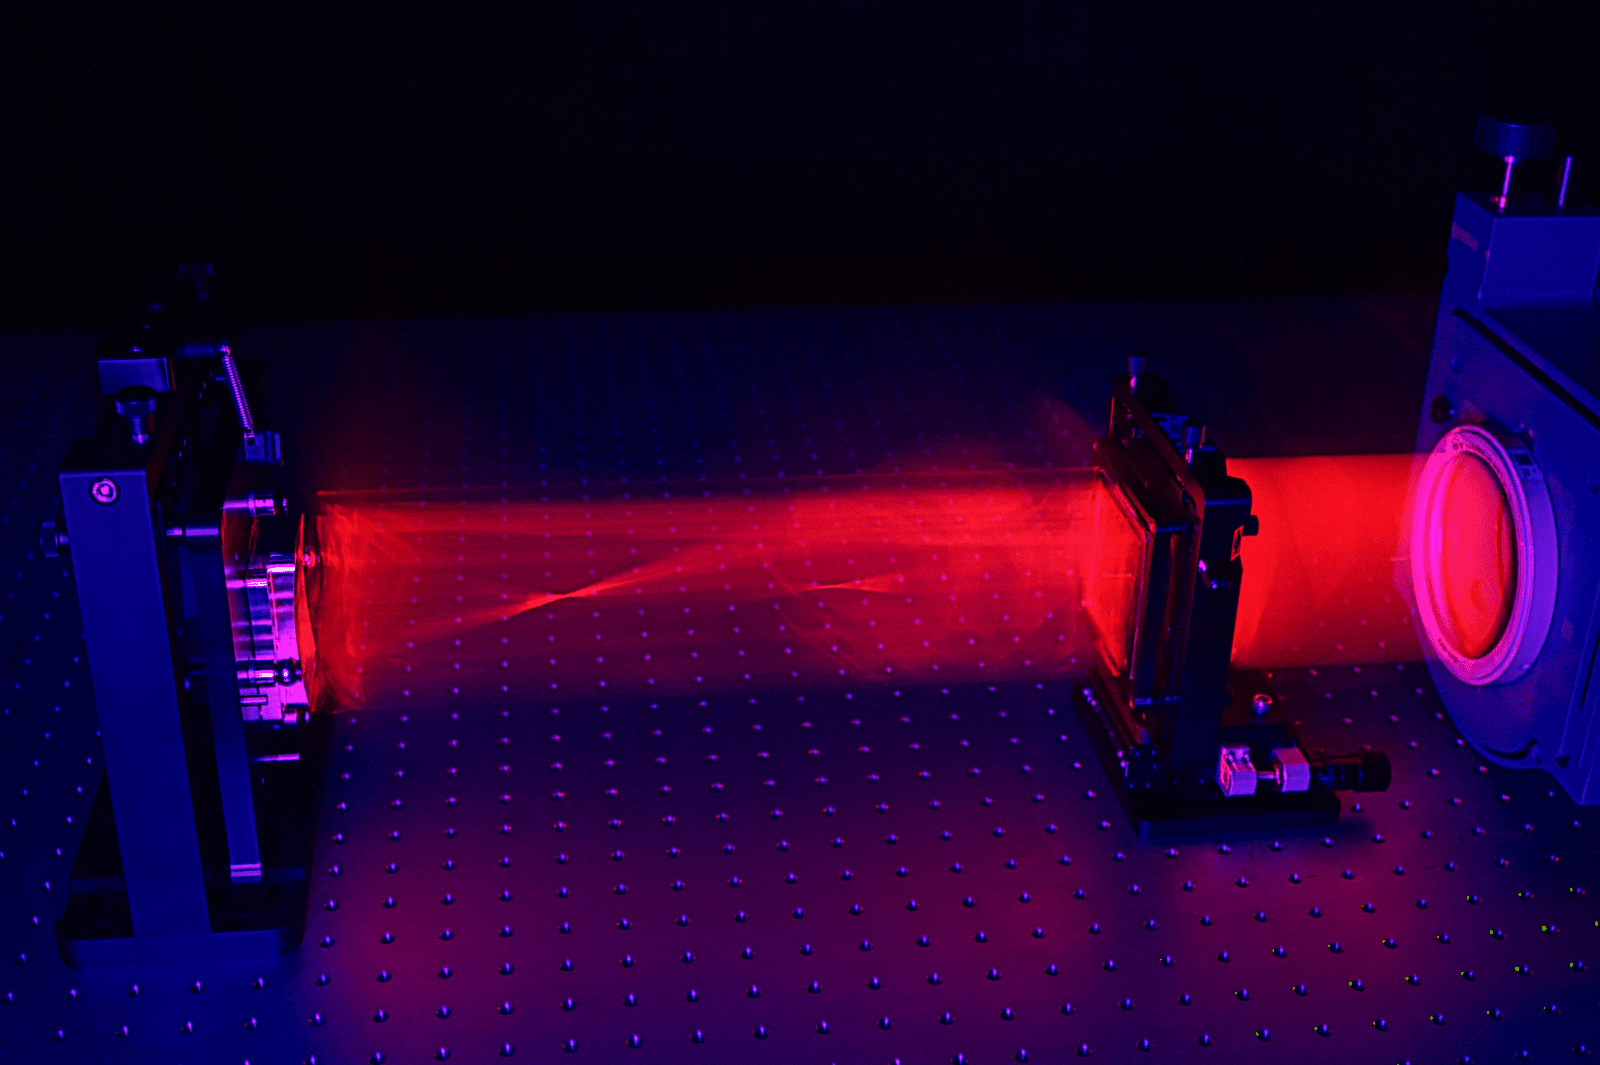
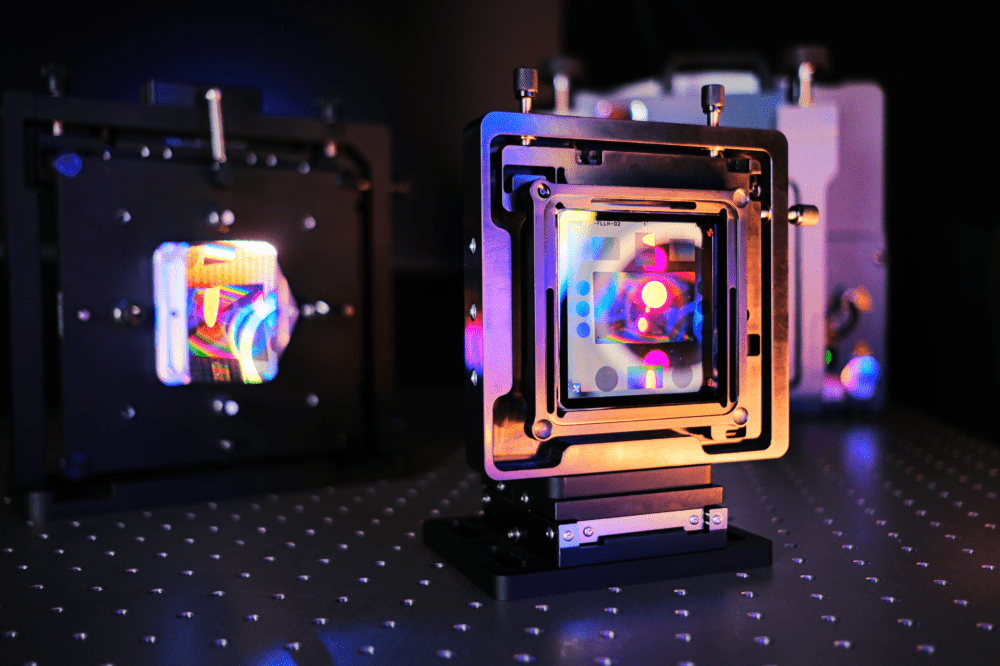
The hologram patterns are custom designed and built into standard configurations for rapid turnaround and ease of use. Standard features enable accurate, traceable measurements of reflective surfaces. Optional features allow measurement of bare glass surfaces and make alignment easy.
Standard Sizes
- 1.5″ x 1.5″ x ¼”
- 2″ x 2″ x ¼”
- 3″ x 3″ x ¼”
- 6″ x 3″ x ¼”
- 6″ x 6″ x ¼”
Standard Types
- Chrome Pattern CGH for measuring reflective surfaces
- Enhanced Efficiency Phase Etched CGH for measuring bare glass surfaces
- Multiplexed CGH for specialized applications
Standard Features
- Custom optimized hologram, written onto a select silica substrate
- EasyAlign retro pattern for aligning CGH to interferometer
- Antireflection coating to eliminate ghosts
- Substrate calibration map
- Precision bonded into EasyNull cell compatible with AOM Fine Positioning Mount
- Engineering and fabrication reports, including tolerance analysis and as-built data
- Quality Certificate
Optional Features
- Projected fiducial spots for coarse alignment of test optic
- Projected catseye focus reflected off of test optic
- Alignment wavefronts for autorefleciton by tooling balls at customer-specified locations
- Mechanical datum features (¼” diameter tooling balls or ½” seats for Sphere Mounted Retroreflectors) attached to the CGH, measured with a CMM to micron-level accuracy
- Data and software for correcting for mapping distortion
- Additional engineering to accommodate specific system requirements
CGHs for Measuring
Cylindrical Surfaces
Concave and convex cylindrical surfaces are accurately measured with interferometry + CGH null correctors. The simple shape allows a single CGH to test a wide range of cylinders.

Standard Cylinder CGH Information
Model No. | Substrate Size | Pattern Diameter (mm) | Pattern Shape | Cylinder F/# | Distance to Focus (mm) |
---|---|---|---|---|---|
C3100S | 3"x3"x0.25" | 60 | Square | 1.0 | 52.0 |
C3150S | 3"x3"x0.25" | 60 | Square | 1.5 | 84.9 |
C3300S | 3"x3"x0.25" | 60 | Square | 3.0 | 177.5 |
C3500S | 3"x3"x0.25" | 60 | Square | 5.0 | 298.5 |
C4100C | 6"x6"x0.25" | 95 | Circle | 1.0 | 82.3 |
C4150C | 6"x6"x0.25" | 95 | Circle | 1.5 | 134.4 |
C4200C | 6"x6"x0.25" | 95 | Circle | 2.0 | 184.0 |
C4300C | 6"x6"x0.25" | 95 | Circle | 3.0 | 281.0 |
C4500C | 6"x6"x0.25" | 95 | Circle | 5.0 | 472.6 |
C6100C | 6"x6"x0.25" | 140 | Circle | 1.0 | 121.2 |
C6150C | 6"x6"x0.25" | 140 | Circle | 1.5 | 198.0 |
C6500C | 6"x6"x0.25" | 140 | Circle | 5.0 | 696.5 |
Not seeing a feasible option in our Standard Cylinder CGH table? We create custom Cylinder Nulls too! Just click the button below to request a quote for a custom Cylinder CGH.
Mechanics for Alignment
Hardware for mounting and aligning the CGH test.
Alignment Stages
AOM Fine Positioner Mounts (FPM) allow quick and easy setup and operation of CGHs. The FPM allows fine adjustment of all 6 degrees of freedom.
All standard CGHs can be precision bonded into a cell that interface with the mount using easy “click-in” magnetic coupling.
Mount Options
All models of the Fine Positioning Mount are shown below. Expand each section (click yellow + icon on the right) to learn more about each option and view pictures.
FP3-H425
Fine Positioner Mount for 3″ or smaller CGHs, with centerline height of 4.25″
![]() |
![]() |
![]() |
![]() |
![]() |
![]() |
FP3-H600
![]() |
![]() |
![]() |
![]() |
![]() |
![]() |
FP6-H425
![]() |
![]() |
![]() |
![]() |
![]() |
![]() |
FP6-H600
Fine Positioner Mount for 6″ or smaller CGHs, with centerline height of 6″
![]() |
![]() |
![]() |
![]() |
![]() |
![]() |
Alignment References
AOM provides references for aligning the CGH and the Unit Under Test (UUT). The details depend on customer requirements of datum references and alignment procedures. Some examples of mechanical alignment product offerings are illustrated below.
ZBR Stitching Software
ZBR software uses a powerful algorithm to combine data for subaperture stitching and calibration.